Taking a Screenshot with Windows
Hello, and welcome to our first How To blog post. This is the first in a series of posts designed as guides ranging from simple to technical for making life easier when using PC’s!
If you’ve ever been asked for a screenshot from tech support, you may know how to do this. I use screenshots all the time for building procedures, and find them really useful to show someone what you want without needing them to look at your screen.
If you’re using Windows 7, 8 or 10, this guide will show you how to create and save a screenshot. Get ready to get snapping!
Snipping Tool
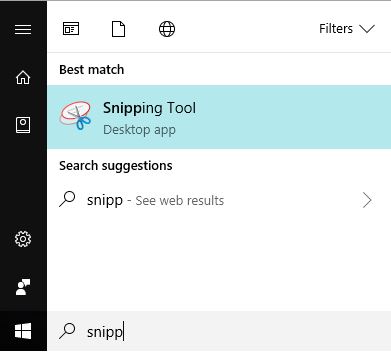 The snipping tool is a personal favourite, and here is some good news; it is built into Windows!
Click on the Start menu (bottom left). For Windows 7 navigate to the “Accessories” folder. In Windows 10 it’s called “Windows Accessories”. The icon shows a pair of blue scissors with two white ovals underneath them.
For Windows 8, you’ll need to click the down arror, click Ctrl+Tab, or swipe downward to access the “Apps View”. From there find and select the Snipping Tool.
Alternatively, you can open the start menu and use the search bar to find the Snipping Tool.
Once you have Snipping Tool open, you can use the “Delay” down arrow to select your delay. This can be super useful for opening something that disappears when you click on the “New” button to take a screenshot! You can also select the kind of snip you want from the “Mode” drop down.
After you’ve set your options, click “New” and select your screenshot area with your mouse or trackpad. The different modes will allow different types of selecting. Full screen or Window require you to select the screen or window, where as Free-Form or Rectangle require you to manually draw the snip size.
Edit the screenshot by highlight parts of it or drawing on it. You can then save it, or paste it somewhere. Snipping Tool automatically saves the screenshot to your clipboard. You can either right click and select “paste”, or use Ctrl+V, to paste the screenshot into your document or email. You can also save it as a .jpg or .png to your PC for later use. To save, select “File” in the top left, then “Save As”. You can also email the screenshot as an attachment by clicking the envelope icon, or by going to “File” and “Send to”.
Default Keyboard Shortcuts
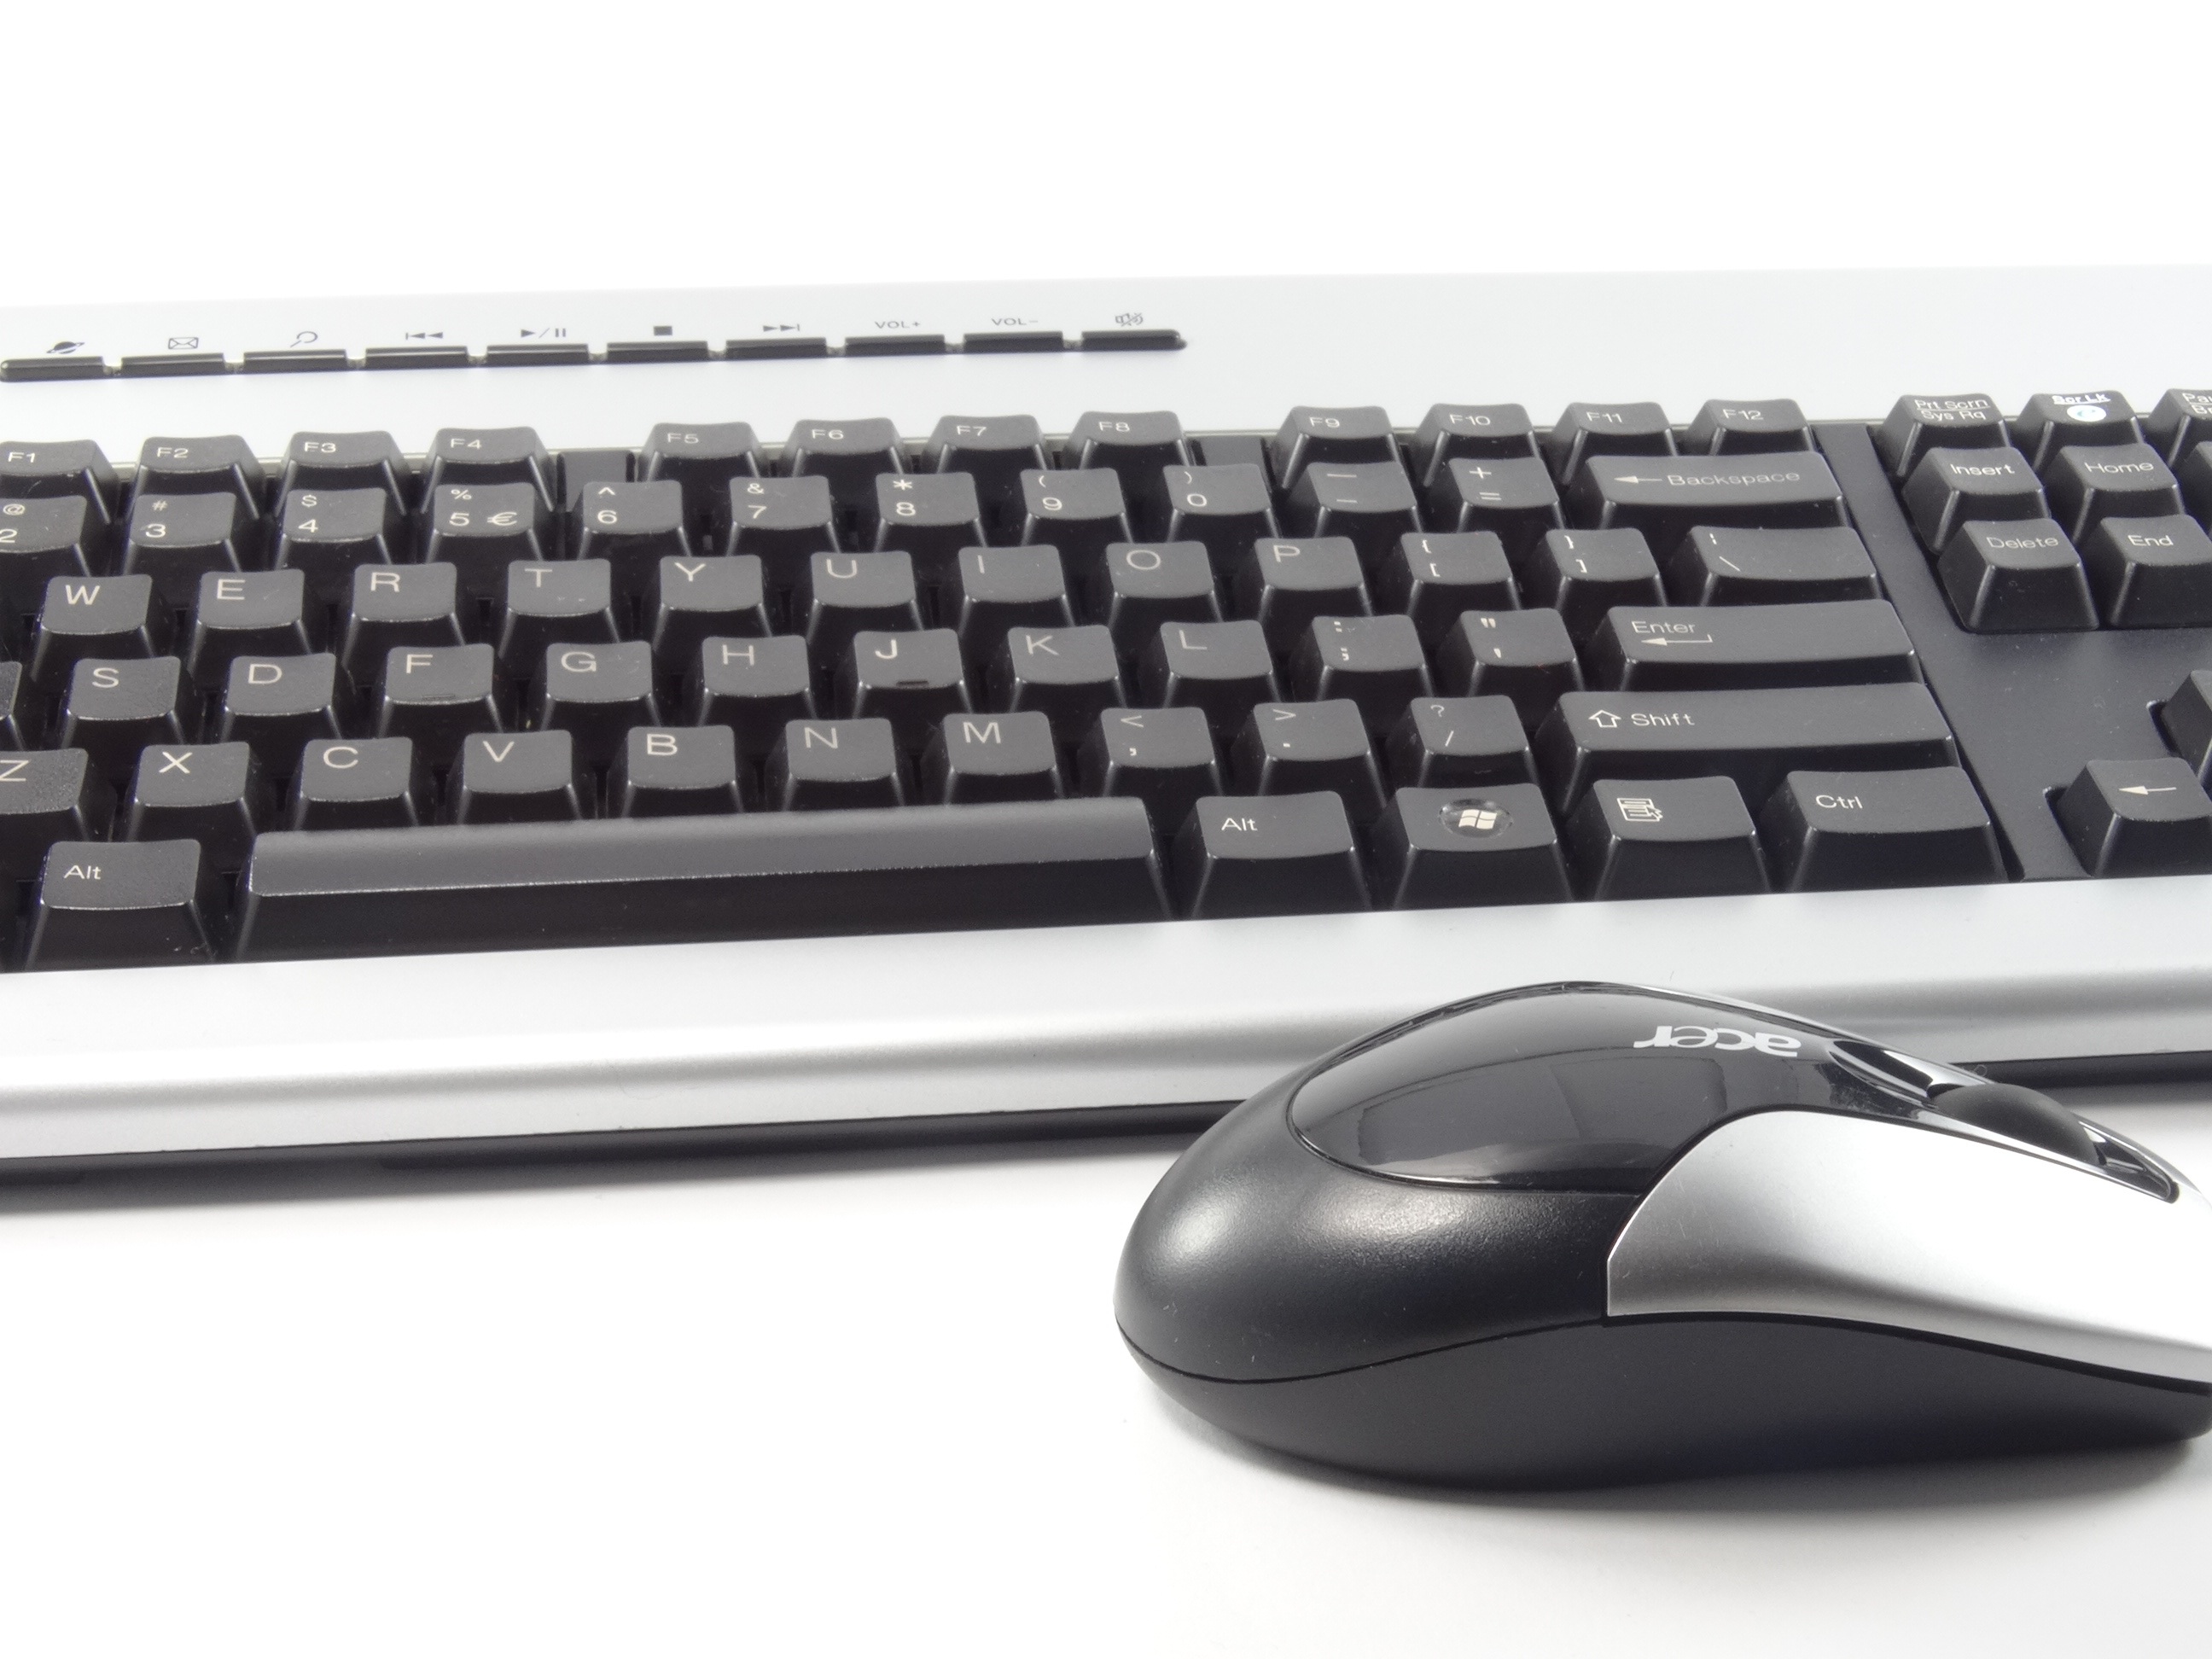 Keyboards comes with a built in “Print Screen” or “PrtScn” button, usually in the buttons above the arror keys. With keyboards getting smaller, and with laptop keyboards however, you may need to press a “Function” or “Fn” key to use it.
Make sure that your display includes what you want to capture. Find and press the “Print Screen” or “PrtScn” button, and it will capture an image of your current screen (or screens) and save it to your clipboard. There will be no noise or notification indicating that the screenshot was successful. If you’re using Windows 8 or 10, you can press the Windows Key + Print Screen to save the screenshot into the “Screenshots” folder.
If you have Dropbox installed, the first time you do this it will ask if you wish to save screenshots to Dropbox. See this article for more information on saving automatically to Dropbox.
You can also use Alt+PrtScn to take a snap of only the active window, this will save it to your clipboard. Pressing the Windows key, along with Alt and Print Screen, will save the shot of the current window.
To edit your screenshot, open “Paint”. In Windows 10 or 8 you can open the Start menu and start typing, or scroll through the Apps until you find it.
In Windows 7, open the Start menu and navigate to “Accessories” and click “Paint”. You can also use the search function mentioned above.
Once Paint opens, you can either click the “Paste” button in the top left, or press Ctrl+V on your keyboard.
Save the screenshot after making any edits such as circling an important section, or cropping away sections that aren’t required. Click “File” in the top left corner, and select “Save-as”. Chose your type of file and enter a title, then save. You can now attach the screenshot to an email, or insert it into your procedures.
OneDrive in Windows 10
 If you’re running Windows 10, OneDrive is installed as a standard application. You can find OneDrive in the start menu, or my searching for it.
First you need to open OneDrive and log in using either your home or work Microsoft account. If you’ve already logged in previously, it will open the OneDrive folder in Windows Explorer.
If it’s your first time using OneDrive on the PC, if you use the keyboard shortcut from above – “PrtScn”, you’ll get a pop-up prompt from OneDrive. The pop-up will ask if you want to automatically save your screenshots to OneDrive. If you confirm, from now on a PNG of your screenshot will be saved into your OneDrive.
To manually enable this feature, right click the OneDrive icon in the system tray. The system tray is at the bottom right of your screen, next to the clock. You may need to click the arrow to expand all icons. Find the blue OneDrive cloud icon, and right click on it, then select “Settings”.
Click on the Auto-Save tab, and tick “Austomatically save screenshots I capture to OneDrive”.
To open or share the screenshots, open File Explorer and click on OneDrive in the left navigation panel, or open OneDrive from the start menu. Open the Pictures folder, then the Screenshot folder. You can copy these pictures to any folder you need them in, or open them in an image editor. By right clicking on a picture and selecting “Share a OneDrive link”, a URL will be copied to your clipboard that you can then email or send to the required recipient.

